In the world of valve assembly, the process of bolt torquing plays a crucial role in ensuring the proper functioning and integrity of valves.
Bolt torquing is a method used to tension bolts to a specific sealing position. It involves applying a calculated amount of torque to the bolts to ensure they are properly tightened and secure. This process is crucial in valve assembly, especially for valves with high class and size, as it helps prevent loss of testing or containment. Bolt torquing can be done using tools such as Hammer Wrench (flogging spanner), Manual Torque Wrench, or high-pressure Hydraulic Air-driven torque wrench, depending on the specific requirements of a project. The goal of bolt torquing is to ensure that the bolts are tightened to the correct torque value to maintain the integrity of the valve assembly.
The relevance of bolt torquing to the clients whose facilities cut across land locations, flow stations and Floating, Production, Storage, and Offloading (FPSO) vessels include but are not limited to:
Firstly, proper bolt torquing ensures the integrity and reliability of the valves onboard their FPSO and their other production locations. This is essential for maintaining the safety of the vessel and its operations, as any leakage or failure in the valves could lead to environmental hazards or production downtime.
Secondly, bolt torquing helps prevent potential leaks in the valves, which could result in the loss of valuable resources such as oil or gas. By ensuring that the bolts are properly tightened and secure, the risk of leaks is minimized, protecting the environment and the owner’s investment.
Additionally, bolt torquing plays a role in the overall maintenance and longevity of the valves on the FPSO. Properly torqued bolts help extend the lifespan of the valves, reducing the need for frequent repairs or replacements. This can result in cost savings for the owner in the long run, as well as increased operational efficiency.
Bell Oil and Gas Valve Manufacturing and Assembly plant recently carried out a project for TotalEnergies for the Testing of Isolation valves. For this project, the number of isolation valves brought for test was 24 out of which 18 of them were high-pressure and higher class.
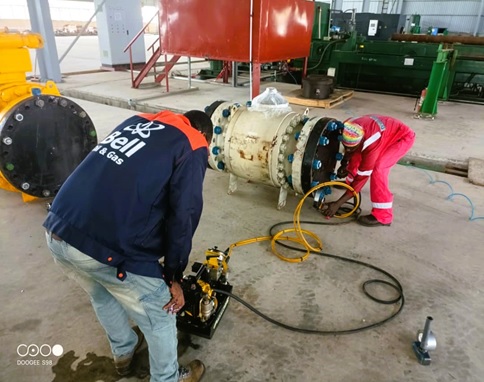
The process of testing the valves involves installing a raised face gasket for the RF flanges and loading up the exact size and class to the valve and a ring face gasket for the flanges with RTJ class. The flanges were then held in place with the valve flange with a long bolt and locked with a nut of matching size. The bolts and nuts used were of different materials ranging from carbon steel to stainless steel with certification markings. The process of torquing then commenced by sealing the valves with their flange. before high-pressure hoses were attached to the torqued flange to introduce the pressure from the test bench and Gas console. After the testing is complete, the air driven hydraulic torquing wrench will loosen the bolts on firs impact and leave the complete loosing of the bolts for the air driven impact wrench which can tighten and loosen at a maximum force of 3000Nm.
The process of torquing was achieved with the below process using the 14 inches by hub class 12000 as a case study with a nut size of 110mm:
●Clean the valve bolts with a clean dry ran and apply a Paint remover penetrant to remove the paint flakes joining stocked with the nut. i.e. this will aid in quick loosening & tightening.
●Label the nuts according to nuts fasting orientation (14,13, 1,2,15, 16,….).
●Insert the Torque cassette on the nuts and apply pressure until the first turn is achieved. record this value as the break-to-open (BTO) valve for the nuts.
This is also recorded for the final closure of bolts which is the break-to-close (BTC).
●Ensure the Enerpac torquing machine is set to the correct torque value for the specific bolt and nut size(110mm). This can be achieved by checking the strength grade of the bolt (4.8 or 6.8 and pressure of 392Mpa and 588Mpa respectively) and comparing it to the recommended torque value in the Bolt Torque Chart((e.g., EN 921-934 or ISO4732, 4032, 4017 …)
●Apply the necessary pressure as stated up to the torquing machine to begin torquing the bolt and nut.
●Follow the specific torquing orientation recommended for the ball valve body as mentioned above to ensure proper tightening.
●Continue torquing until the desired torque value is reached.
●Double-check the torque value using a torque wrench if necessary to ensure accuracy.
●Repeat the process for any additional bolts and nuts on the ball valve body as needed.
All malfunctioned bolts will follow the instructions on the TotalEnergies Training manual Course EXP-MN-SMO45 Rev 0 for handling any faulty bolt maintenance referenced by the client.
The importance of bolt torquing in valve assembly, as demonstrated in the case study at Bell Oil and Gas Plant, cannot be overstated. The process of bolt torquing ensures the integrity, reliability, and safety of valves, especially in high-pressure and high-class situations. Properly torqued bolts help prevent leaks, protect the environment, and increase operational efficiency. The specific process of torquing, as outlined in the case study, involves careful preparation, labeling, and application of torque to achieve the desired tightness. The use of tools such as the Enerpac torquing machine and air-driven impact wrenches further enhances the efficiency and accuracy of the torquing process.

●Torquing process for 12 inches x 600RF ball valve with the aid of Air driven pneumatic, hydraulic torquing machine.

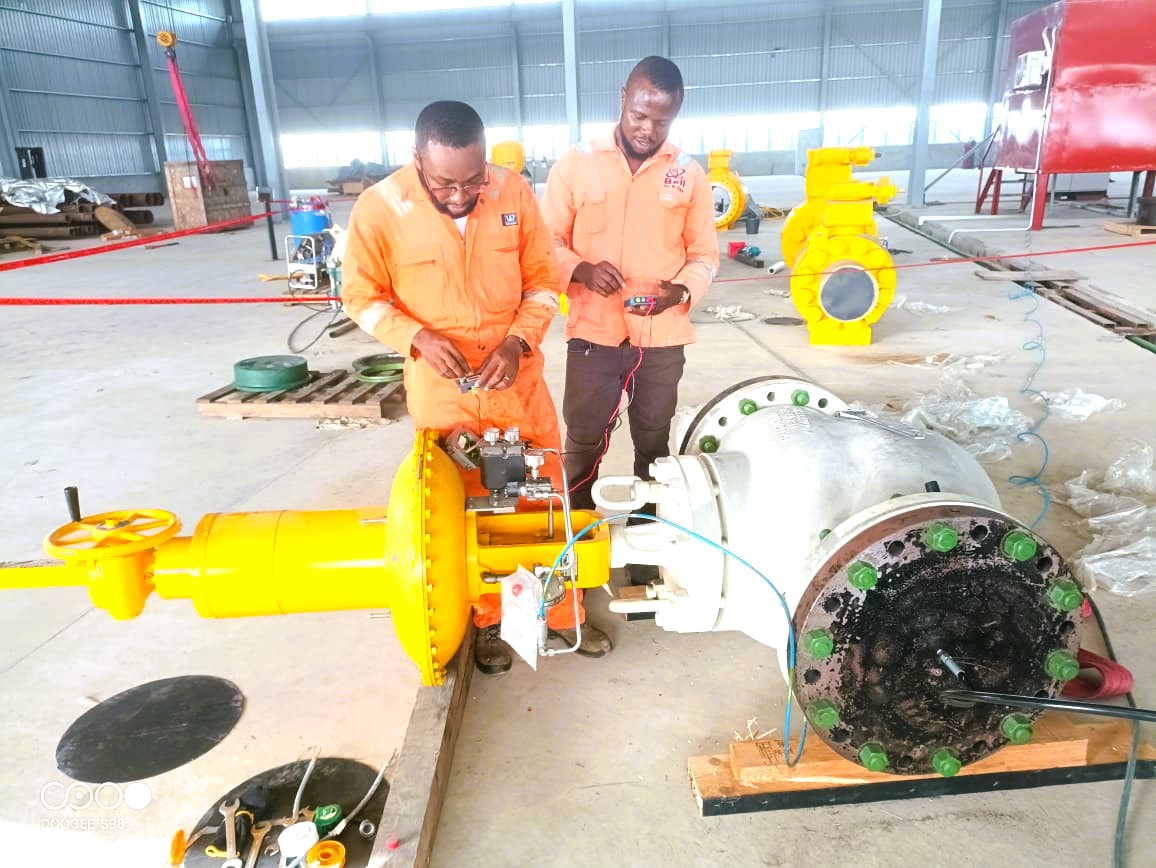
●Testing of torqued valves.

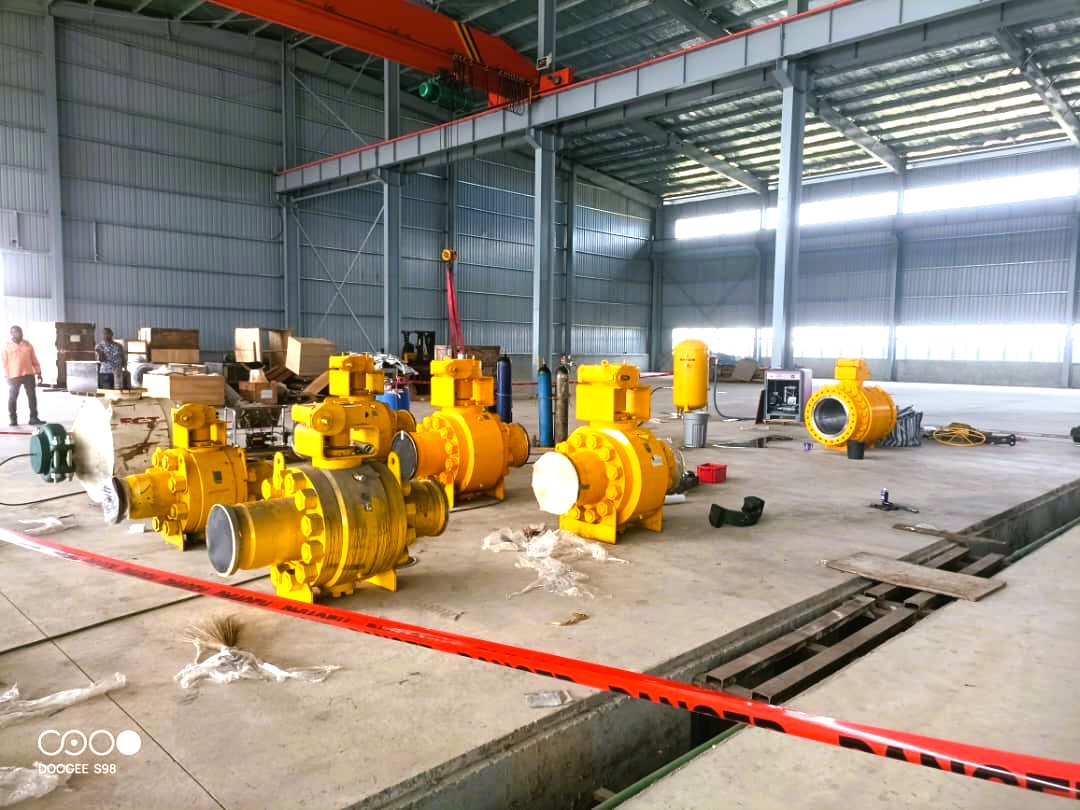
●Some of the valves on arrival at the Bell Oil & Gas facility for testing


